ASSEMBLY & FILLING GUIDE FOR DURA-GUARD™ MARINE GABIONS
Before starting assembly ... put on your safety glasses and work gloves !!!

Gabions are pre-fabricated in the factory and ship flat on a wooden pallet
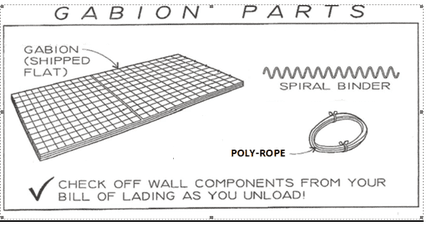
Included is: Poly braid cord and mesh reinforcement panel
Optional stainless steel corner mending spirals are shipped loose
ASSEMBLY:
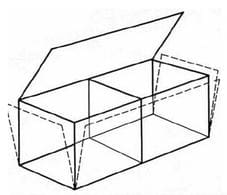
- OPEN AND STRETCH THE PRE-FABRICATED GABION ON A HARD FLAT SURFACE
To simplify the lacing process, fabricate a curved wire formed needle and attach it to the poly cord
- The basket is now ready for lacing or spiral insertion
-Adjacent panels can be joined together weaving the poly tie cord in and out of each mesh opening. See illustration below
-POSITION THE ASSEMBLED GABIONS IN A STRAIGHT LINE AND SECURE THE COMMON FRONT AND REAR CORNERS WITH POLY BRAID CORD OR INSERT ONE FORMED SPIRAL TO JOIN THEM TOGETHER
POLY CORD ASSEMBLY:
As the cord is weaved in and out of the mesh it is pulled in the direction of weaving which then forms a tight joint.
All horizontal joints are laced in the factory. Start and finish lacing the lid with cord wrapped around each panel end 3 times.
It is recommended that the maximum length to be laced is approximately 3 ft. which requires about 5 ft of cord but do not cut all the cord as longer lengths will be needed elsewhere
ASSEMBLY USING STAINLESS STEEL SPIRAL TIES :
Adjacent panels should be joined together at intersecting corners using one pre-formed spiral tie. Start winding the spiral tie starting at the top and winding down the mesh.
At the top and bottom end of the spiral tie, turn the ends back vertically and close tight to secure the spiral from moving.
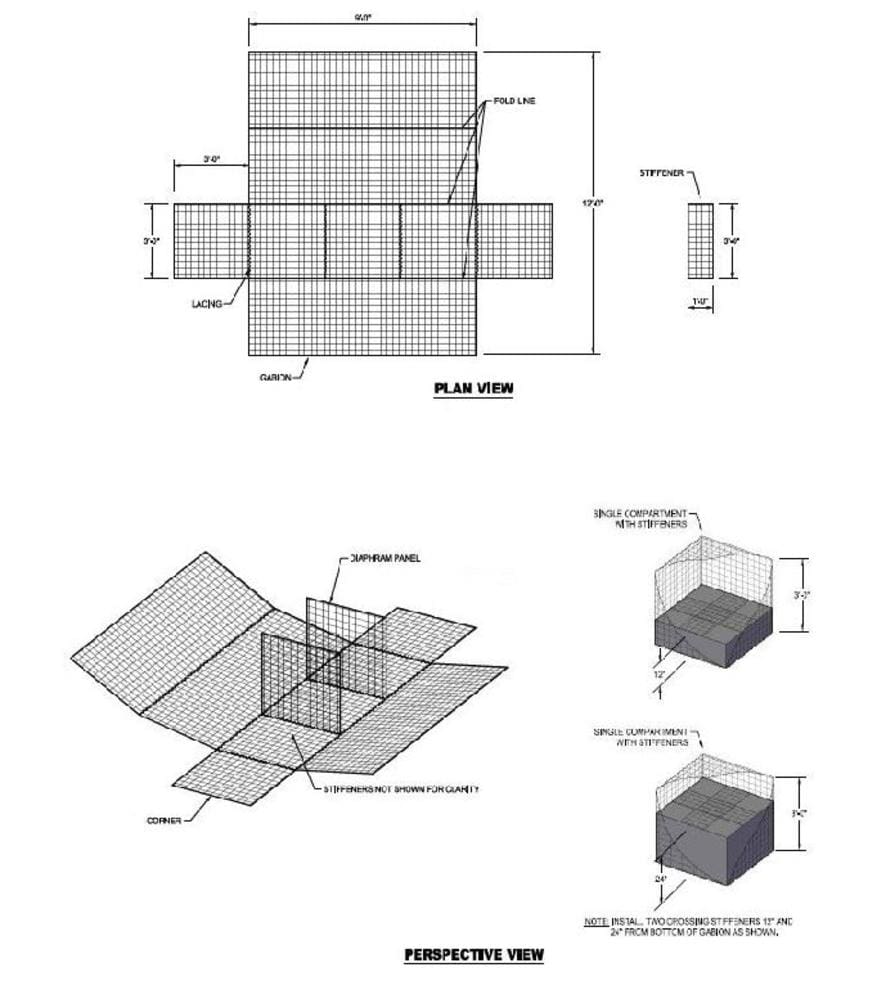
REINFORCEMENT PANELS (STIFFENERS):
Gabions come with grid reinforcement panels - shipped loose. When laced in place, they join the front and back panels ... keeps panels from bulging when filled with rocks.
For 36" tall baskets, install one panel at the 1/3 filled level and another panel at the 2/3 filled level in the center of each compartment as shown below.
For 18" tall baskets, install one panel in the 1/2 filled level
