How to Build a Gabion Fence
NOTE: THE FOLLOWING INFORMATION IS PROVIDED AS A GUIDE TO ASSIST CONTRACTORS AND DO-IT-YOUR-SELFERS IN THE PROPER CONSTRUCTION OF GABION FENCES. THE PHOTOS AND ILLUSTRATIONS SHOWN ON THIS WEBSITE ARE EXAMPLES OF TYPICAL CONSTRUCTION METHODS. THIS CONTENT IS PRESENTED FOR GENERAL INFORMATION PURPOSES ONLY AND SHOULD NOT BE TAKEN AS A SUGGESTED DESIGN OR PROFESSIONAL ADVICE FOR BUILDING YOUR FENCE.
INSTALLATION TOOLS
SAFETY GLASSES
LEATHER WORK GLOVES
LINE LEVEL
4FT LEVEL
FLAT SHOVEL
SPADE SHOVEL
FLAT BAR
PLIERS WITH WIRE CUTTERS
TAPE MEASURE
HEAVY HAMMER
RAKE
PICK
POST HOLE DIGGER
GABION FENCE INSTALLATION GUIDE
STEP 1 - LAYING OUT THE SITE
Start by laying out the wall using a string line and line level or a carpenters level mounted on a long straight edge (usually 2"x4" - 12' long) and check that the pad is level in both directions.

STEP 2 - PROVIDE A FIRM AND LEVEL BASE
Using a hoe or flat shovel, remove any grass, weeds or top soil. If the soil is hard, you may be able to put your gabion wall directly on the existing soil. If you have sandy or clay soil, you will need to replace about 6" depth with compacted gravel or a concrete footer, otherwise the soil might slump under the weight. If you are not planning to vegetate the wall, use brush killer (Round Up) to destroy any weeds or roots then cover over with geotextile fabric.

STEP 3 - GABION REINFORCEMENT - INSTALL SUPPORT COLUMNS
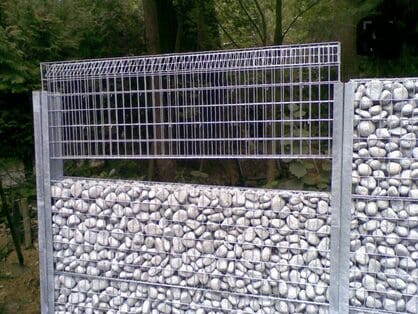
There is virtually no structural integrity in the wire of a narrow width gabion wall. These walls will require internal support posts imbedded in concrete and spaced on appx. 6' centers. (see examples below)
Depending on the installation and local codes, typical columns may be sections of galvanized pipe, pressure treated wood posts or structural steel members.
Be sure to bury the column 3-4' deep, add dry mix concrete, then wet it up and return in a day or two and start your installation.


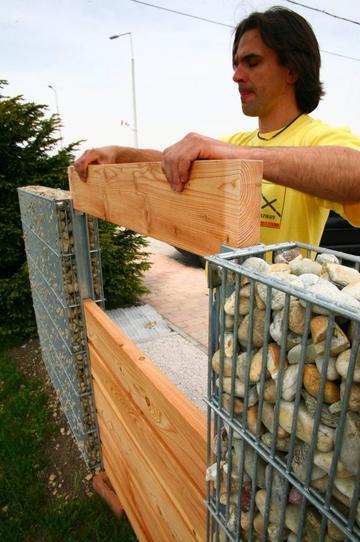
STEP 4 - ASSEMBLING THE GABION BASKETS
Start by unfolding and laying out the wire mesh panels with its bottom panel laying flat on the prepared base by sliding the gabion over the internal support posts. Our baskets are held together with a spiral of galvanized steel that you wind through the adjacent edges of the mesh panels. It’s easy to do since the spiral matches the gabion's mesh grid spacing. When the spiral reaches the end, use pliers to pinch each end to secure and prevent it from slipping out.
6 ft long baskets are the most commonly used size. They have a middle dividing panel to reduce bulging, which is wired in along its bottom edge when the cage is open on the flat area, and then down each vertical side once the sides are brought up and the basket is in place. The baskets generally need bracing ties across each corner 1/3 and 2/3 up depending on the height of the basket, which are positioned and pinched closed.
STEP 5 - FILLING THE GABION BASKETS
If you have indigenous rocks available, filling with these on-site materials will produce a gabion wall that fits well into its surrounding landscape.
To prevent spillage, the exterior rocks placed against the exposed faces need to be slightly larger than the mesh openings. Typical 3" x 3" mesh requires a minimum of 4" rocks and limit the largest rock at 8". Use angular rocks to fit into corners and smaller rocks or used bricks and concrete materials may be inserted in the center of the structure as they will not to be seen when finished.
Careful packing of the rock takes time but is important!
Work in layers, using smaller pieces to fill any voids and to wedge the best looking rocks against the face of the basket. Orient them as closely as possible, then filling in behind to hold them in place.
STEP 6 - ADDING LAYERS
To obtain fence heights taller than 3' you generally stack multiple baskets on top of each other. Once you have packed the lower basket, wire close its lid and then assemble the second layer on top. Fill the second layer like the first using the best looking rocks on the face and the less attractive fill rocks in the center.
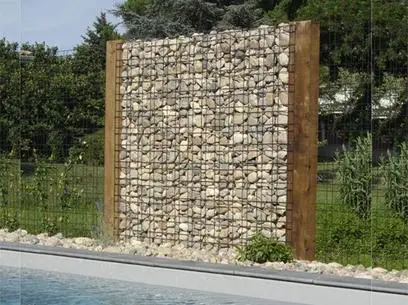
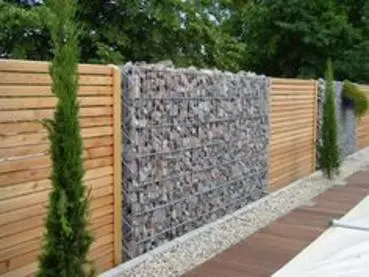
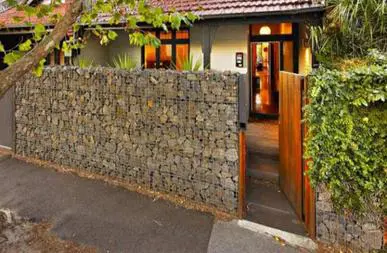
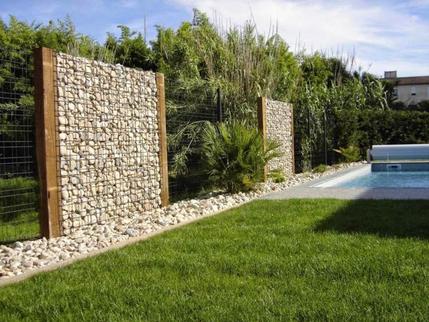
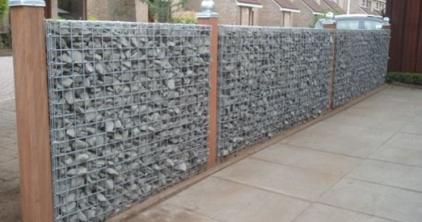
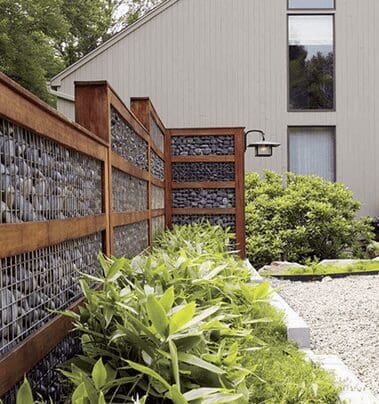
Examples of Support Posts in Gabion Fences


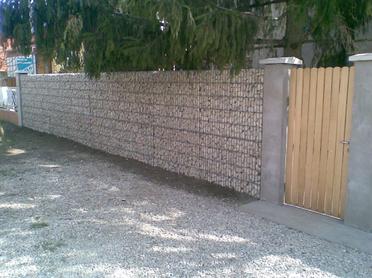
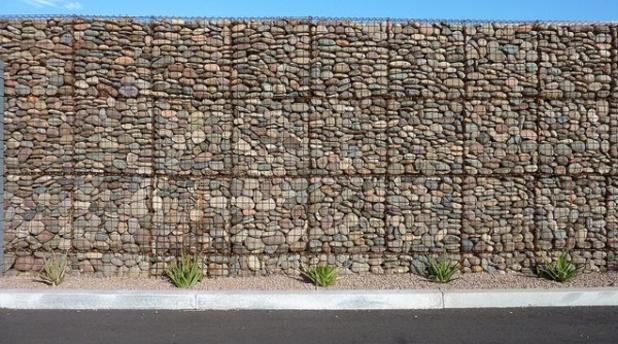
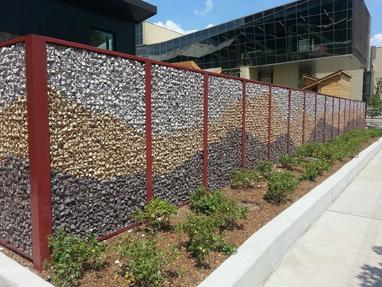
EXAMPLES OF GABION FENCES